Posted on 22 March 2022
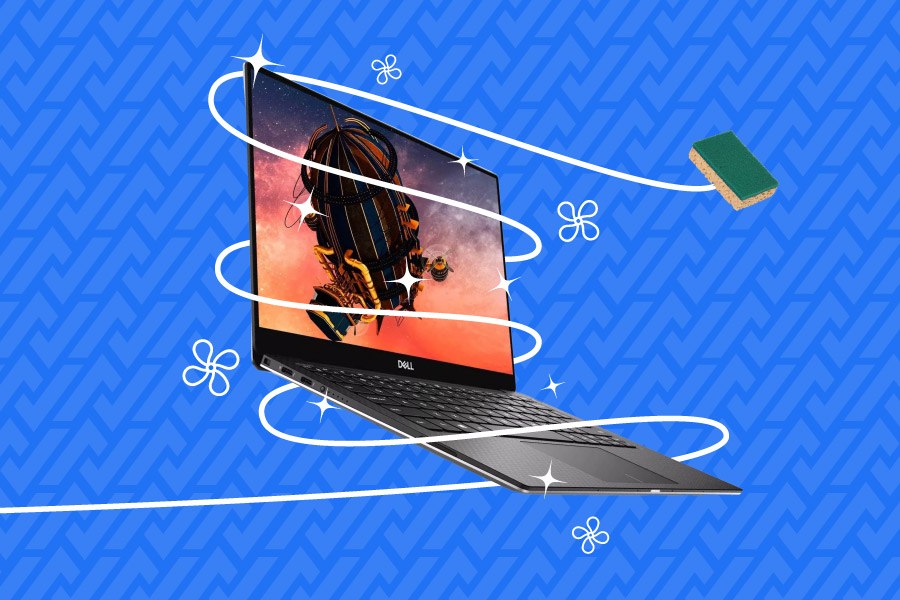
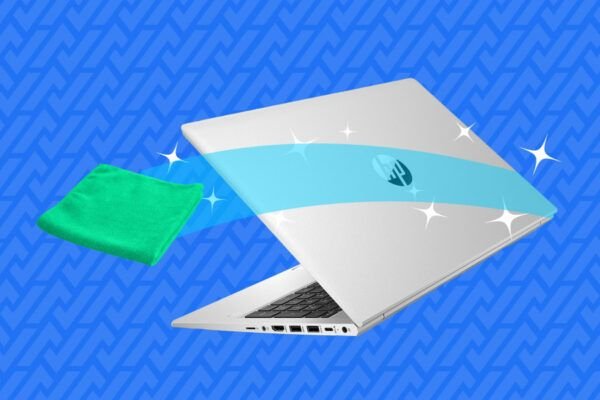
Step 1: Clean the casing
 YOU WILL NEED
 A microfibre clothA little clean waterA hairdryer (air-dry type)A hoover (a screwdriver)
Before you begin, unplug your computer from any power source, turn it off and disconnect any devices connected to it to avoid short circuits.
We’ll start this cleaning with the most visible part of the computer: the shell. For this step, use the microfibre cloth which has the advantage of avoiding scratching it while retaining the dust. If there are any stains, simply moisten the cloth very slightly and rub the affected areas without applying too much pressure.
Ventilation is provided by the air vents in the case. If these are blocked, it is more difficult for your computer to evacuate heat and therefore to develop its full potential.
To do this, use the hoover directly on the openings to remove as much dust as possible. If you are particularly meticulous, you may choose to open the case and clean the fan itself, first using compressed air to loosen the dust and then using the hoover to extract the unwanted elements you have detached.
Step 2: Cleaning up ports
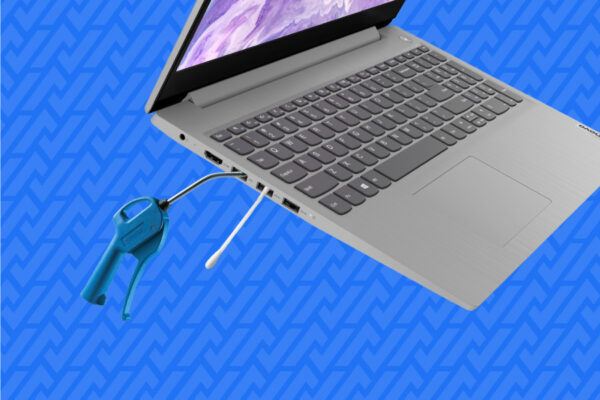
YOU WILL NEEDA hairdryer (air-dry type)Isopropyl alcoholCotton swabs
The ports used to connect your various peripherals also need to be cleaned, as it is easy for dust and other foreign objects to get lodged in them.
Compressed air is the ideal tool for removing them. If you use a spray can (or hair dryer), make sure to keep the diffuser up so that no water escapes.
If you find that this is not enough, take your cotton swabs and soak them in isopropyl alcohol. Then carefully clean the port(s) concerned. Don’t worry, if a little alcohol gets inside, it will evaporate quickly enough without damaging your computer.
Step 3: Removing screen stains

YOU WILL NEEDMicrofibre clothsA little clean waterScreen cleaning wipes / Screen cleaning liquid
The screen is the second most important part of your laptop. To clean it, you only need to do it in the same way as for a flat screen.
You can use the microfibre cloth to remove any dust. If there are still stains, a second wipe will be necessary.
To do this, either use special screen wipes or dampen the second microfibre cloth very slightly with a little clear water or screen cleaner. Then apply the cloth to the affected areas using a circular motion.
At this stage, it is essential to exert as little pressure as possible to avoid damaging the tile. As a bonus, avoid using aggressive products such as detergent, washing-up liquid or window cleaner. We also advise against using everyday cloths because of the scratches they can produce.
Step 4: Cleaning input devices
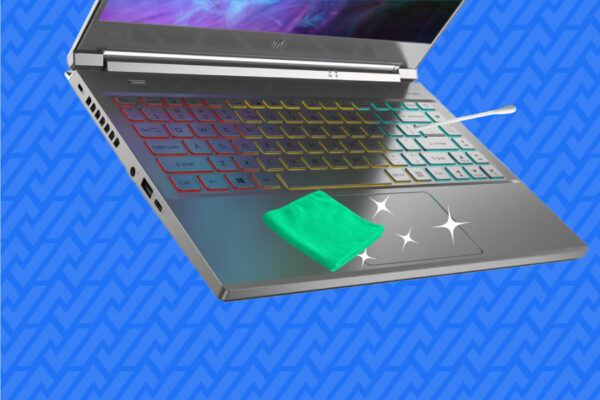
YOU WILL NEEDUne bombe d’air comprimé ou une souffletteDe l’alcool isopropyliqueUn chiffon microfibreDes coton-tiges
The keyboard and touchpad are the last areas we will deal with. As these are the areas where you put your hands to use your computer, they often tend to be full of crumbs, hair, dust, etc. Compressed air is again the best way to remove as much as possible.
If there are any marks, use your trusty microfiber cloth slightly dampened with alcohol to remove them. If your keyboard has gaps and foreign bodies are still present, cotton swabs will be your best allies. You can also dip them in alcohol to clean less accessible areas.